Bringing AI to Salesforce?
But no appetite for Data Cloud.
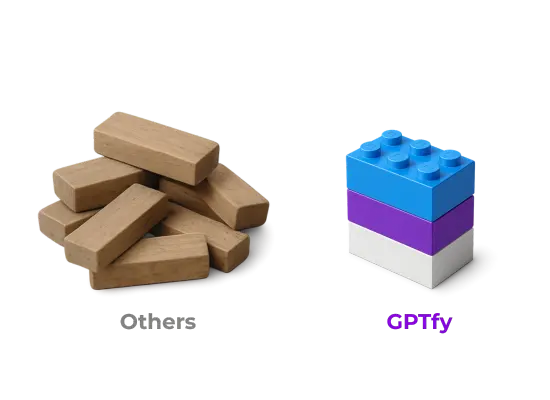
Deploy enterprise-grade AI in Salesforce using your existing cloud — secure, native, fast
Your Salesforce. Your Models. Your Control.
100% Native, Declarative AI Platform used by Fortune 500s.
Average SI implementation cost
Significant costs to implement AI solutions outside your architecture.
Months for compliance approval
Regulatory delays create significant go-to-market risks.
Time spent NOT SELLING
Sales reps waste time on admin tasks instead of focusing on deals.
Average SI implementation cost
Enterprise customers face significant costs to implement AI solutions outside their architecture.
Months for compliance approval
Regulatory approval for new AI vendors creates significant go-to-market delays and security risks.
Time spent NOT SELLING
Sales is losing time on admin tasks instead of focusing on deals, while you are forced to figure out your AI strategy.
Enterprise AI Without Complexity
More security. Less data exposure.
100% Salesforce Native
Deploy AI within your org using your security model with multi-layered PII protection.
Bring Your Own AI Model
Connect to Azure, AWS, Google, or Anthropic through your existing AI infrastructure.
Zero-code deployment
Implement AI with clicks, not code through our intuitive setup interface.
Enterprises Trust Our Approach

"Loved the easy and click/no-code way to configure GPT LLMs on any Salesforce object and go-live in days."
Gurditta Garg
Chief Salesforce Evangelist, Motorola

"It enables Salesforce professionals like me to leverage the AI of my choice (BYOM) in a declarative manner."
Sury Ramamurthy
Technical Architect, Innolake Corporation

"Saw this App and was impressed. Saved our team over 15 hours per rep monthly with streamlined workflows."
Amar Rawal
Business Analyst, Origin
More productivity. Less grunt work.
Sales Leaders, Accelerate Pipeline
Transform sales interactions into actionable insights using AI-powered analytics and automation.
Voice-to-CRM capability. Update records without typing.
AI-powered email drafting. Personalized follow-ups in seconds.
Deal Coach AI. Win rates that speak volumes.
Service Leaders, Grow CSAT Scores
Reduce response times and improve customer satisfaction with intelligent service automation.
AI Case Summarization. Complete context at a glance.
Automated Response Generation. Consistent quality every time.
Knowledge Base AI. Answers found, not searched.
Technical Directors, Secure Your Org
Implement enterprise-grade AI without compromising security through native architecture.
Multi-layered PII Protection. Compliance without compromise.
BYOM Capability. Use your secured AI infrastructure.
No Data Cloud required. Simple implementation path.
AI That Solves Real Problems
Sales Enablement
72% reduction in Admin Work
Generate emails and log activities automatically with voice commands.
Support Automation
55% lower case resolution time
Analyze cases and draft responses through intelligent automation.
Compliance & Security
100% regulatory compliance
Maintain regulatory compliance while using advanced AI capabilities.
Industry Solutions That Deliver
Financial Services, Grow Share of Wallet
Enhance advisory & retail services while maintaining regulatory compliance through secure AI implementation.
FINRA-ready communication analysis. Compliance built in.
Healthcare, Optimize Patient Outcomes
Improve care coordination and streamline documentation with HIPAA-compliant AI assistance.
PHI-Protected interaction. Patient data stays secure.
Insurance, Accelerate Policy Performance
Improve Policy Sales, Claims processing time and enhance adjuster productivity through intelligent automation.
Policy analysis automation. Claims handled faster.
AI Capabilities. Enterprise Control.
Key technologies that transform your Salesforce experience.
BYOM
Connect to your preferred AI models through secure integration architecture.
Prompt Builder
Create powerful AI prompts with no-code tools for consistent results.
AI Knowledge. Implementation Excellence.
Key resources to help you implement AI successfully.
Video Library
40+ Implementation Videos
Step-by-step guides for AI implementation in Salesforce
Built for Salesforce. Designed for You.
Bring AI to your Salesforce Org with an Enterprise solution that fits your architecture. Go-live in weeks, not months.
See your use cases in action, Book 45 mins.100% Salesforce Native. AppExchange Security Approved.
Unlike other AI solutions that send your sensitive data to 3rd Party AI systems without masking, GPTfy runs in your Salesforce Org and uses your company's secured AI infrastructure. Get multi-layered PII protection, and comply with GDPR, FINRA, HIPAA & others.