In this guide, we’ll walk you through how you can update multiple fields on your Salesforce record with the AI response.
Let’s dive in!
Create custom actions for your prompts.
Fine-tune for length, tone and language.
Auto-update fields with AI response data.
Step 1: Create a JSON Prompt
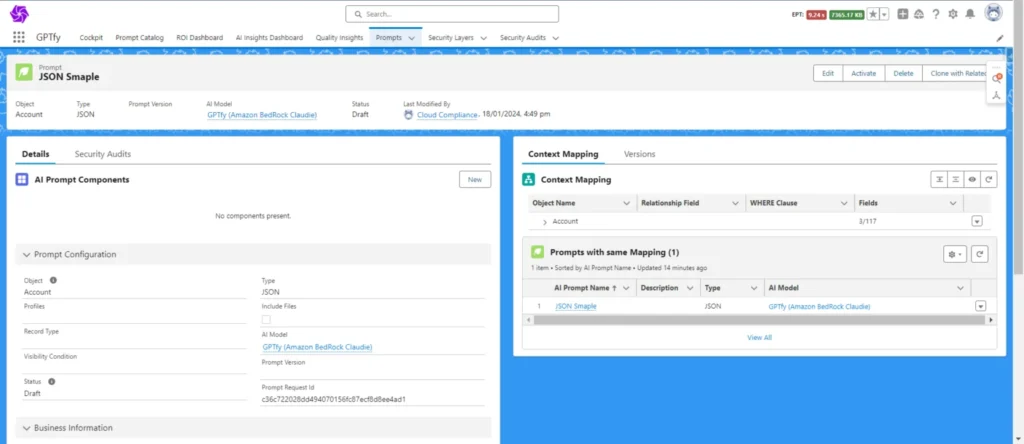
- Go to GPTfy and navigate to the prompts tab.
- Select the JSON prompt type.
- Save your newly created prompt.
Step 2: Add Prompt Components
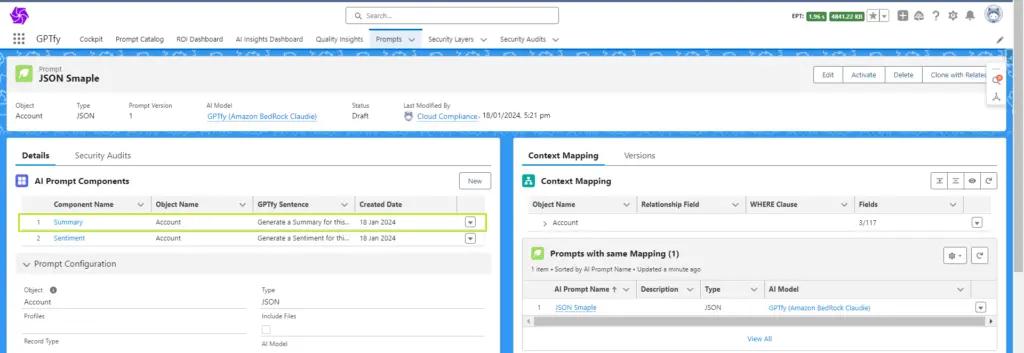
- Find the Prompt Components pane in the Details section.
- Click New to add a component.
Step 3: Fill in Prompt Component Values
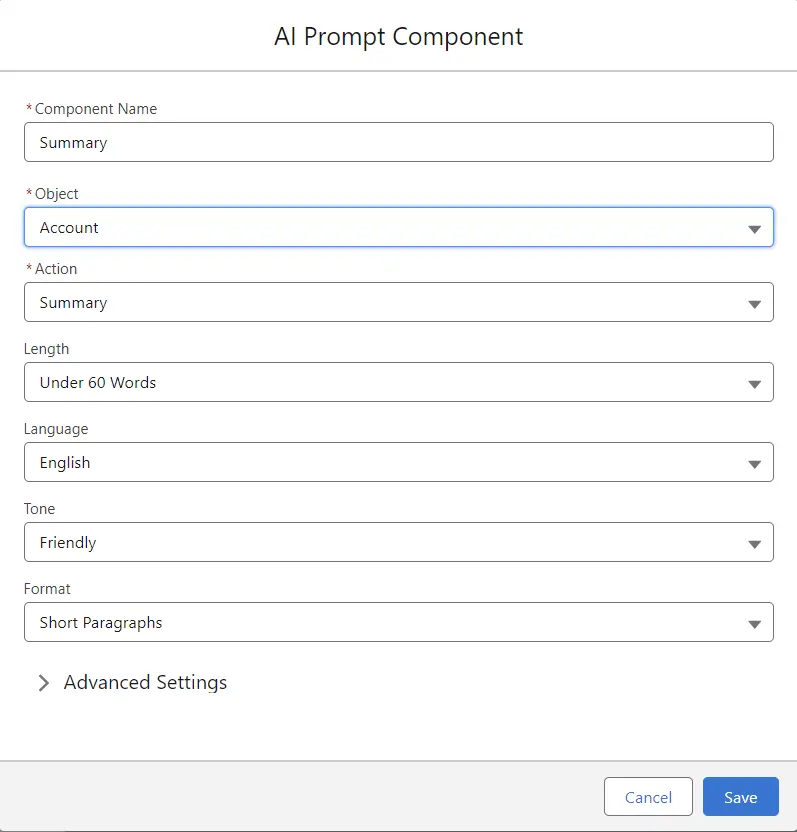
A pop-up window will appear after clicking the “New” button.
- Component Name: Give your component a name.
- Object: The target object for the component is created. The object can be any object in the mapping.
- Action: List of predefined actions. Customize the action according to the requirements.
- Length: Attribute of the component, which tells within how many words the response has to be.
- Language: The Language of the response. GPTfy can translate the response for you.
- Tone: The tone of the response can be constrained with the help of this.
- Format: Format of the response.
- Click “Save” to save the Prompt Component.
- Once saved, a “GPTfy sentence” field will be added to the prompt component-related list window.
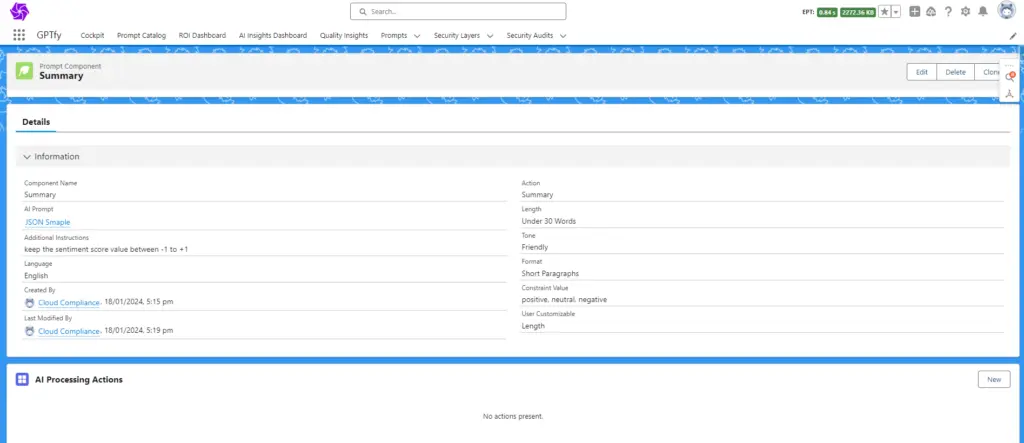
Note: Explore advanced settings to enhance the prompt’s quality with constraint values and additional instructions.
- Constraint Value: Vales within which AI has to provide a response.
- Additional Settings: Any additional instructions for a prompt can be provided here.
Step 4: Automate Updates with Processing Actions:
- Choose the Prompt Component you want to automate.
- Click on the component to open its record page.
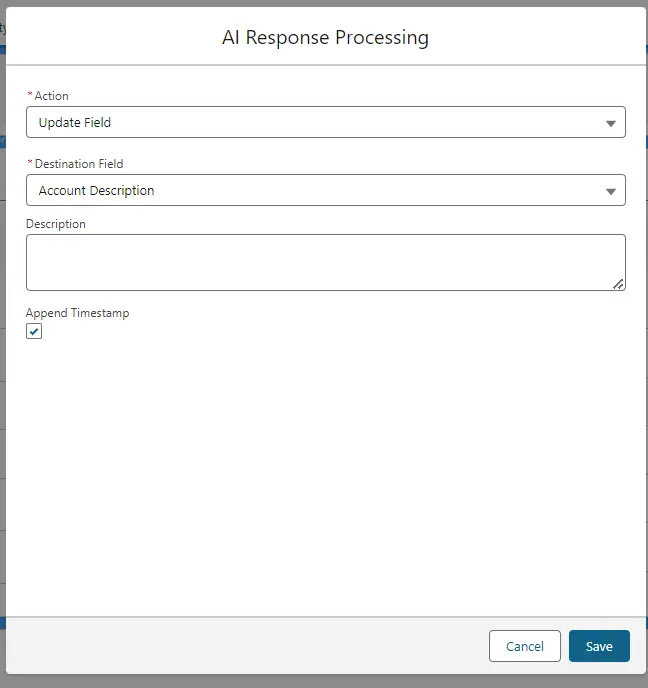
- Click New in the Processing Actions related list.
- Select the field from the dropdown where the response should be updated.
- Check the box for Append Timestamp.
- Click “Save” to save the processing action.
Activate the prompt.
Note: Upon successful prompt execution, the selected field will be updated with the response and timestamp.
For example, the field ‘Description’ on the Account record in the screenshot below is updated automatically by GPTfy with the AI response.

