This article helps us understand how to invoke GPTfy via flows and call different prompts using action components.
Step 1: Create a Flow
- Open Setup
- Enter Flows in the quick find box.
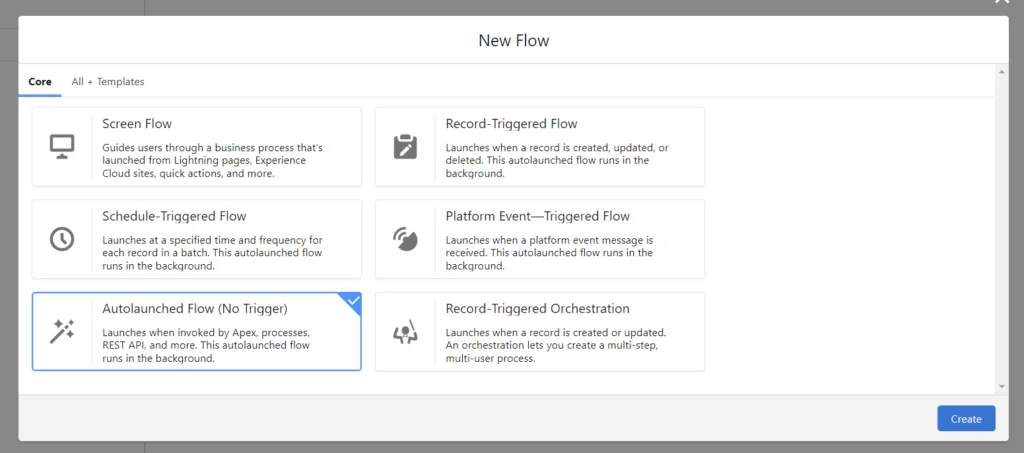
- Click on New
- Select the Auto launch flow (No Trigger).
Step 2: Create Action component for execute prompt
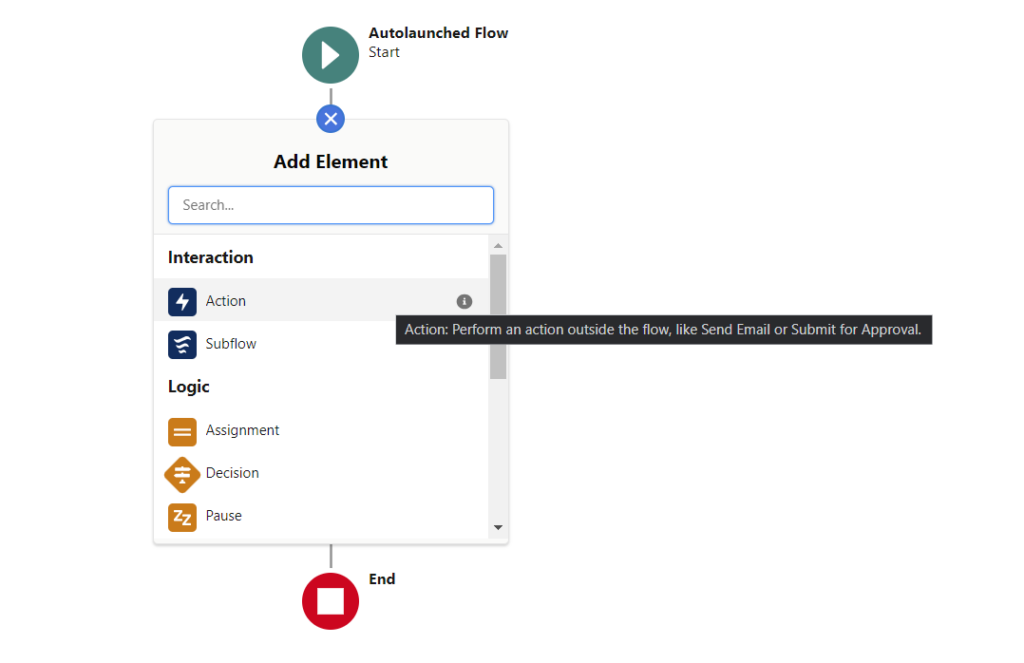
- Within the flow, click the plus icon to add a new element.
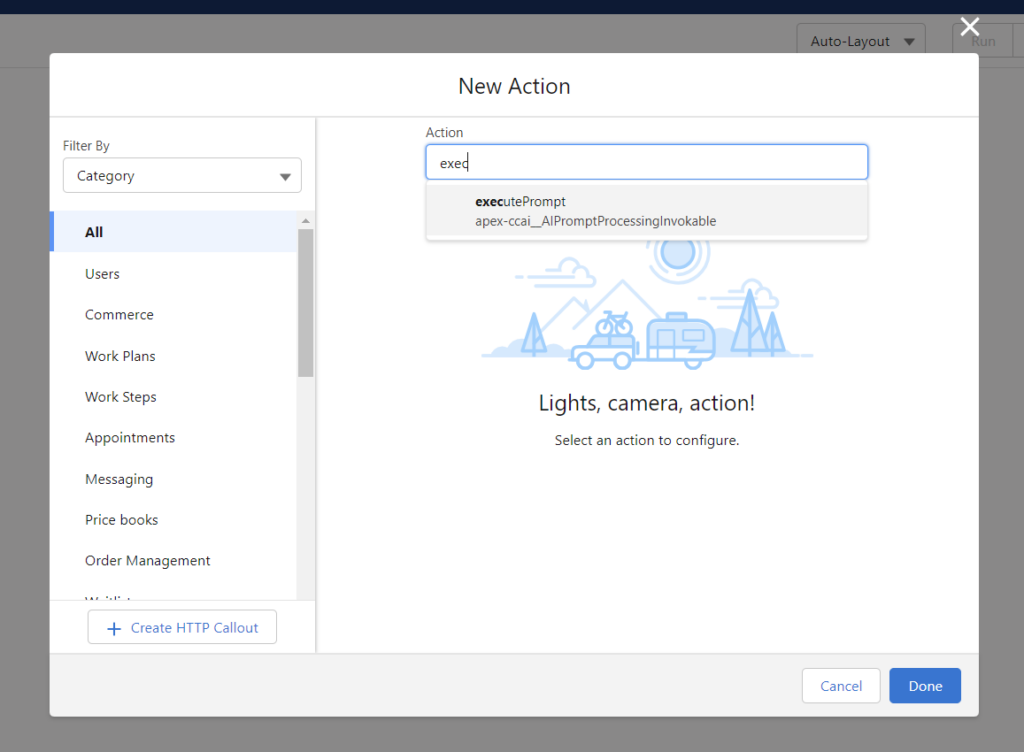
- Select the action component.
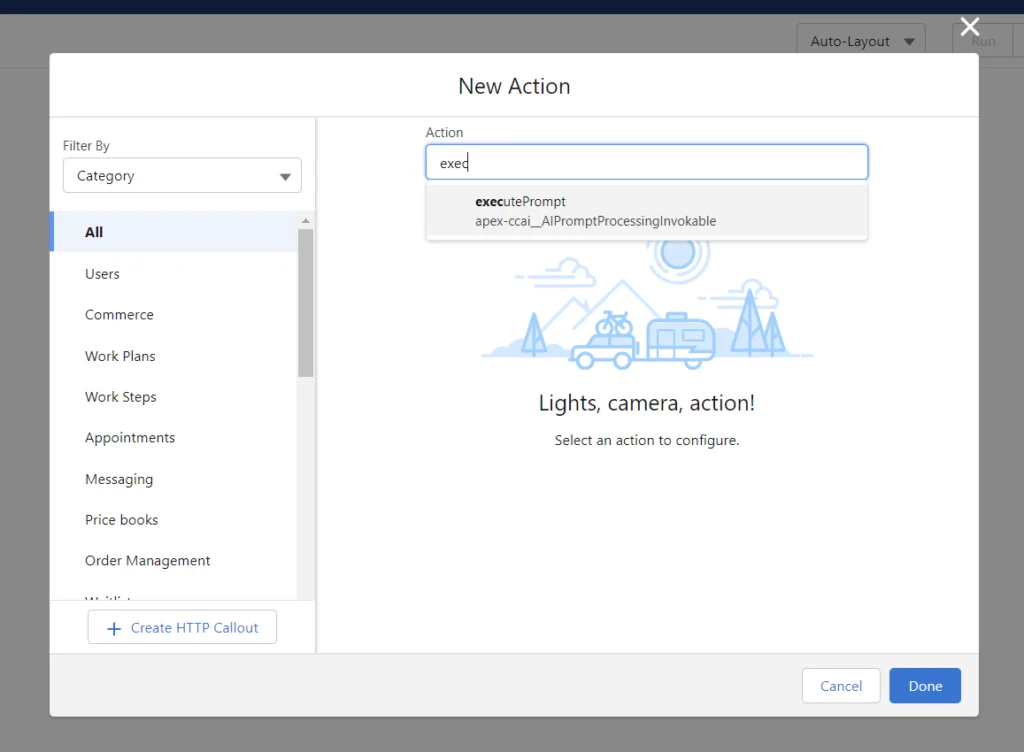
- In the pop-up window, search for and select ‘executePrompt.’
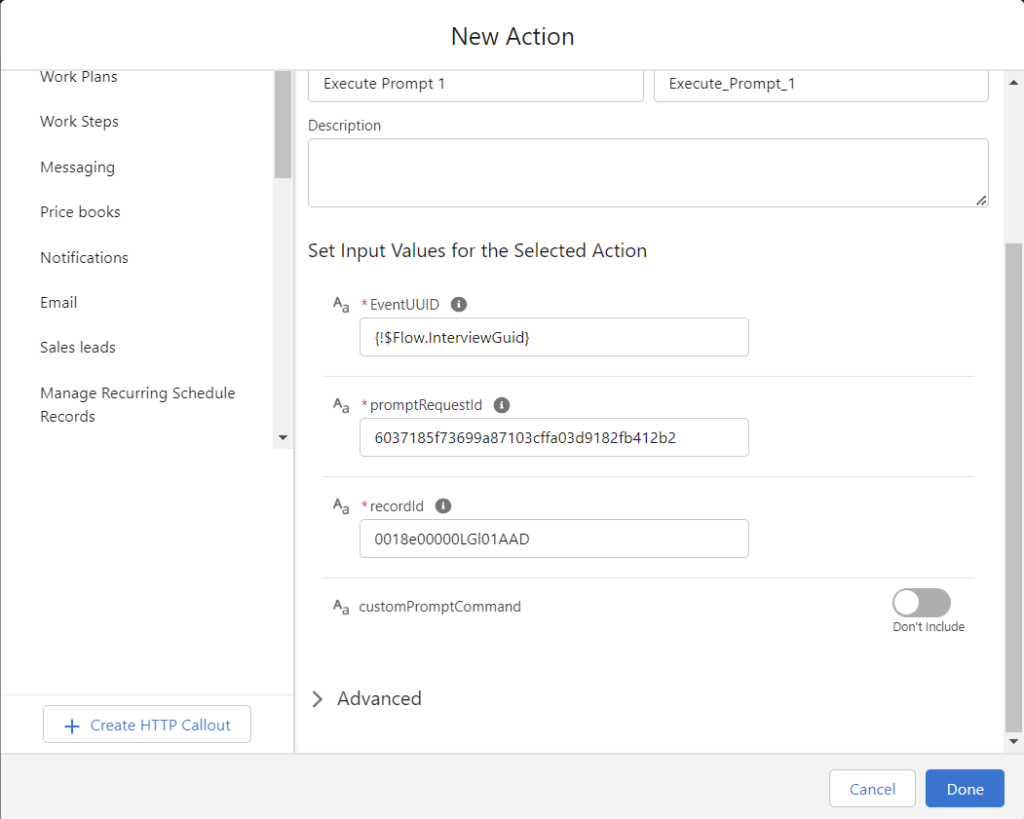
- Provide a Label for the action component.
Specify the EventUUID (Flow’s interview ID) to prevent interference with other events. - Enter the Prompt Request ID, which is generated when a prompt is created.
- Input the Record ID of the record on which the prompt should be executed.
- Click “Done” and save the action component.
Step 3: Add a Pause element
This helps us in eliminating the uncommitted work pending issue as, callouts are not allowed when there is an uncommitted transaction pending. So, we need to split the transaction into two separate Ajax processes. The first inserts the record, and the second performs the callout and is able to update the newly inserted record.
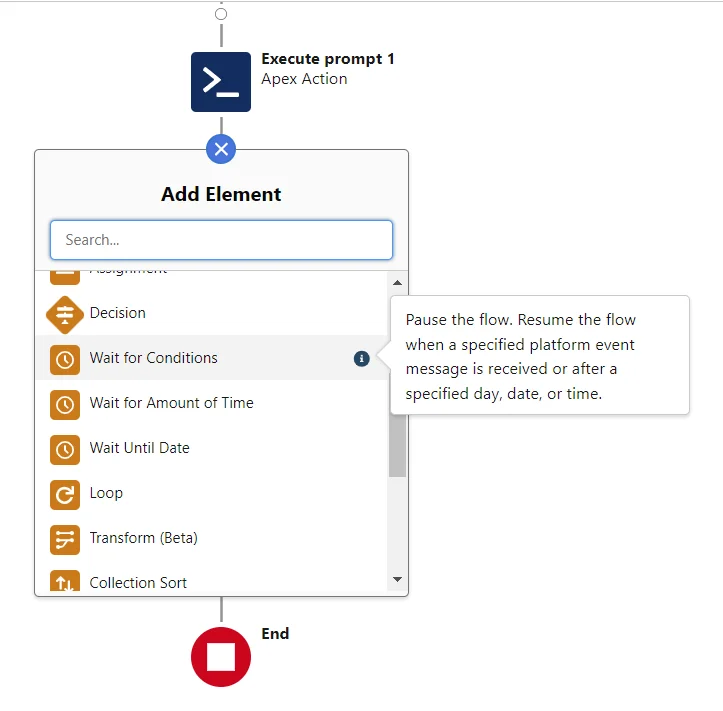
- In the flow, click the plus icon to add another element.
- Select the “Pause” element.
- Assign a Label for the Pause element.
-
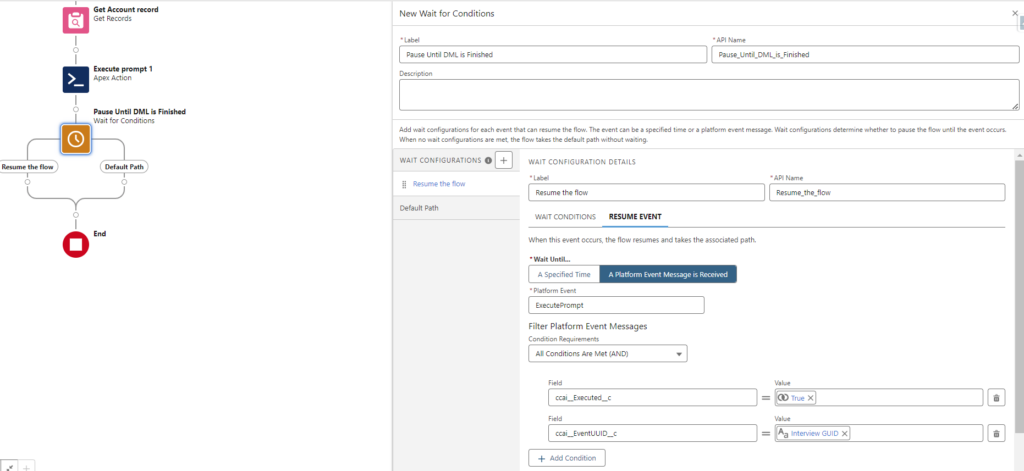
- Configure the pause conditions:
- Select “Always pause flow – No condition.”
- Under “Resume event,” choose “A Platform Event Message is Received.”
- Enter ‘Execute prompt’ as the input in the Platform event.
- Select “All conditions are met.”
- Add conditions:
- Field: EventUUID__c, Value: Flow.InterviewGUID.
- Add another condition: Field: Executed__c, Value: True.
- Click “Done.”
- Configure the pause conditions:
Step 4: Create Action component for invoking another prompt
- Within the flow, click the plus icon to add a new element.
- Select the action component.
- In the pop-up window, search for and select ‘executePrompt.’
- Provide a Label for the action component.
- Specify the EventUUID (Flow’s interview ID) to prevent interference with other events.
- Enter the Prompt Request ID, which is generated when a prompt is created.
- Input the Record ID of the record on which the prompt should be executed.
- Click “Done” and save the action component.
Step 5: Save flow
- Enter a Flow Label.
- Click “Save.”
- Click “Activate.
- Debug the flow.
Step 6: Run the flow with the Developer console
- Open the Salesforce Developer Console.
- Access the Anonymous window.
- Add the following code snippet in the Anonymous window:
					Map<String, Object> Params = new Map<String, Object>();
Flow.Interview.Flow_API_Name stage = new Flow.Interview.Flow_API_Name(Params);
stage.start();
- Replace ‘Flow_API_Name’ with the actual API name of the flow.
- Click “Execute.”
- Check the logs in the Developer Console for a success message.
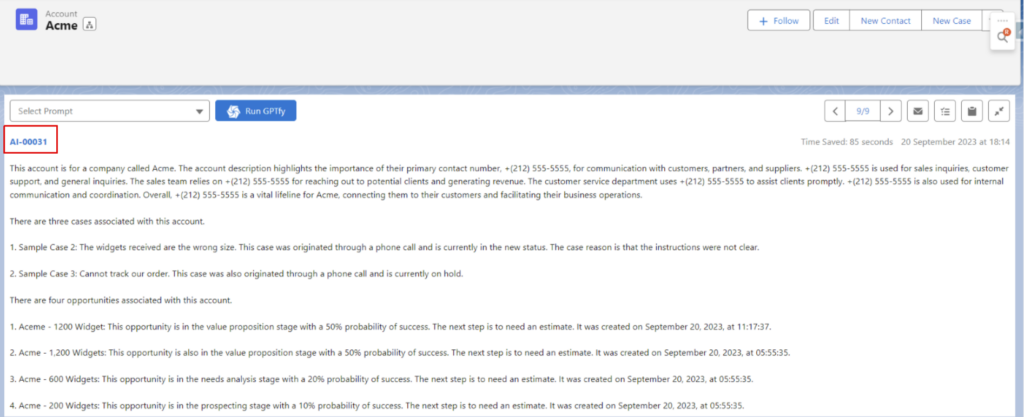
- Additionally, after running the flow, examine the specific records whose record IDs were added in the “executePrompt” action component. You should find response records created as a result.

